Virtual Machine Manager w/UEFI support
If you are a Linux user and want to run different OS’ for testing or what have you, there is no need to look further than Virtual Machine Manager, free and open source.
In this tutorial, we will be going through the steps to get Virtual Machine Manager, also known as “Virt-manager”, installed on an Arch based system. Visit the Virt-manager project page here for more information.
If you are running DeLinuxCo 22.1.2 or higher, to install and configure Virt-Manager, just run one simple command in the terminal:
install-virt-manager
To install and configure on any Arch based distro, here are the four easy steps;
- Install the required software packages from the terminal.
sudo pacman -S virt-manager qemu-full vde2 dnsmasq iproute2 edk2-ovmf
Note, edk2-ovmf must be installed in order to use UEFI! - Add your current user to the group “libvirt”.
sudo usermod -G libvirt -a $USER
Note, “$USER” can be changed to which ever user you want to give access, leaving $USER automatically adds the currently logged in user. - Next you need to start & enable the libvirt service.
sudo systemctl enable libvirtd.service
sudo systemctl start libvirtd.service - Autostart Networking
sudo virsh net-start defaultsudo virsh net-autostart default
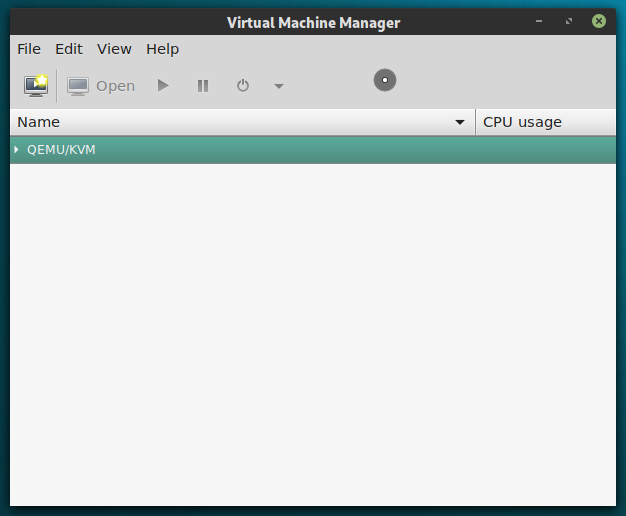
Now you should have a menu item named Virtual Machine Manager to start the VM.
Please keep in mind that Virt-manager stores all image files in /var/lib, so if you have a small root partition, you will run out storage space quickly. It is best to have the /var folder as a separate drive or partition and on an SSD or nvme drive.
Our little Distribution “DeLinuxCo” is based on Manjaro Cinnamon Desktop and if you have ever tried to test out Linux Mint or any other Cinnamon Desktop on a virtual machine, you are very aware of the “You are running in software mode, check your graphics drivers”. This makes for a poor evaluation or operation of the distribution because it was designed to have 3D enabled. This is why on our downloads page, it is discouraged from evaluating DeLinuxCo in VirtualBox, but with Virt-manager, you can experience native performance in a VM.
The following is going to be how to setup a VM to test out DeLinuxCo, but I encourage you to test out Linux Mint as well as Ubuntu or Fedora, so that you can see how well it works.
To get started, click on the top left icon to create a new VM.
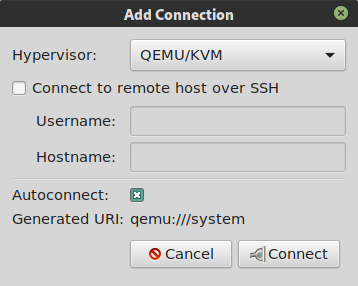
Select QEMU/KVM and click connect.
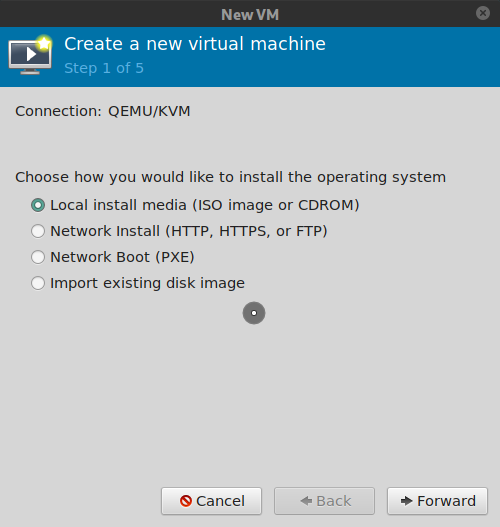
Select “Local install media” and click Forward.
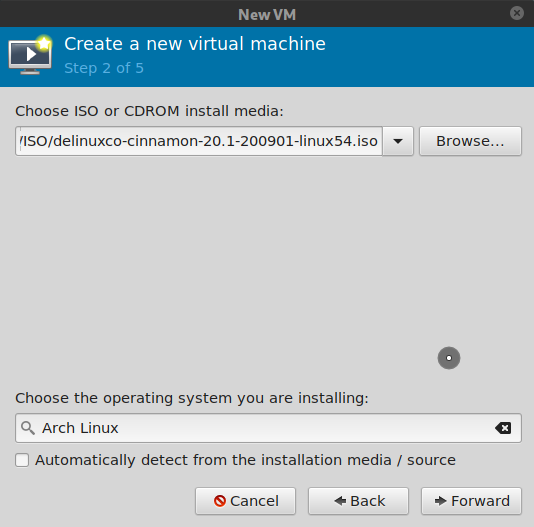
Select the ISO file you wish to use to boot.
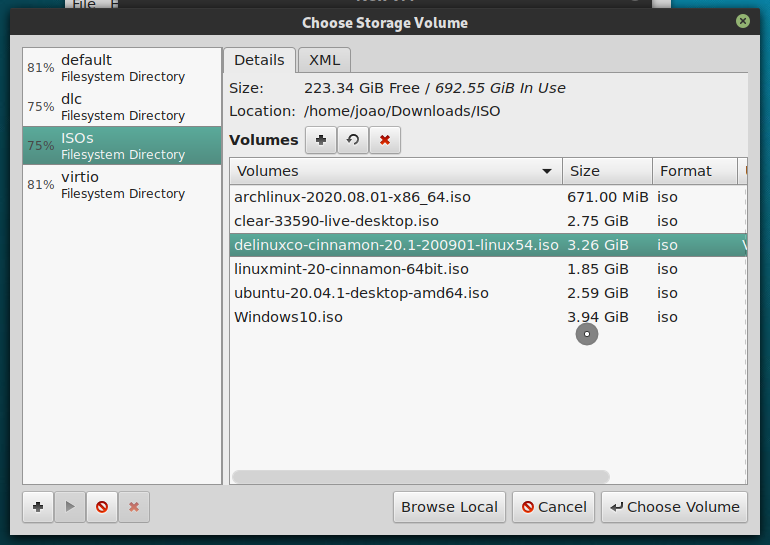
When selecting “Browse” you will be presented with this dialog box and it requires a little explanation. On the left pane are your “pools”, you can create as many pools as you wish. Pools are predefined folders of disk and ISO images. For example, you may only see “default”, and these are usually your existing VM drives. On this machine the user has a folder in the Downloads directory called “ISO”. This is where all ISO’s that are downloaded are stored, (notice the location path on the right pane). A new pool was added by clicking the + sign and adding a pool that points to the ../Downloads/ISO directory. This allows grouping of your media. Your ISO’s are always listed, you choose and go! Once you have your pool setup, select DelInuxCo ISO and click on Choose Volume.
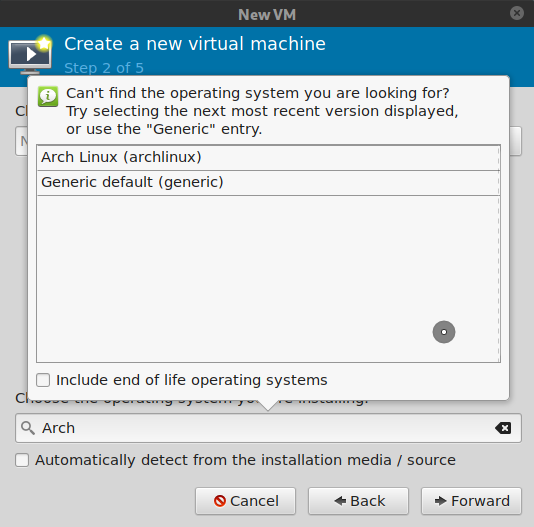
At the bottom, select the type of OS you are installing, in this case it is Arch based, so type Arch and select.
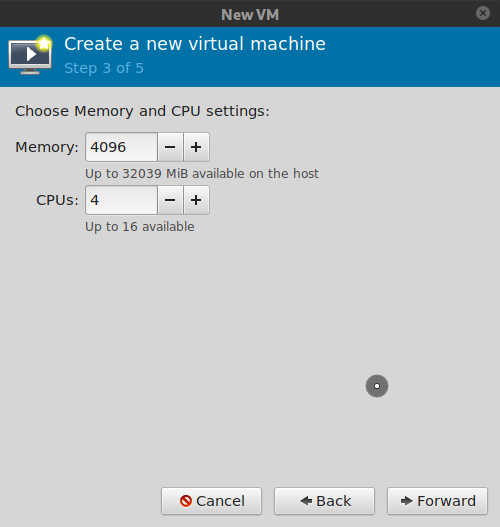
Next, select your memory, 4096 GB really should be your minimum when using a 64 bit OS. CPU’s 2 at the very minimum
Now create a storage drive, for testing 20GB 40GB should be enough.

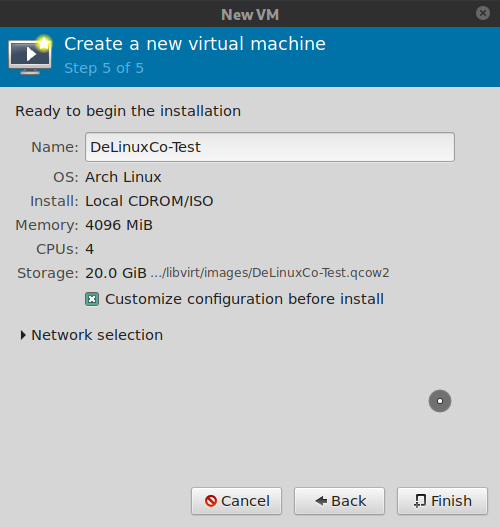
****IMPORTANT STEP**** After giving your VM a name, you MUST check “Customize configuration before install” in order to enable UEFI!
Upon clicking “Finish” in the above dialog box, you will be greeted with the Details screen! VERY IMPORTANT!!! If you want to boot in UEFI mode, you must select UEFI from the Firmware pull down then click “Apply”. If you skip this step, you will not be able to go back and change it.

Once UEFI is selected, or not, you could begin the installation by clicking the button on the top left “Begin Installation”. But there is a little idiosyncrasy to this procedure that you must be aware of.
If you Begin Installation now, the VM will boot from the ISO file, but here is the caveat, it will only do this one time. If you have any issues booting, next time you go to reboot it will error out saying no bootable drive.
So, to fix this, click on the left pane under SATA CDROM 1;
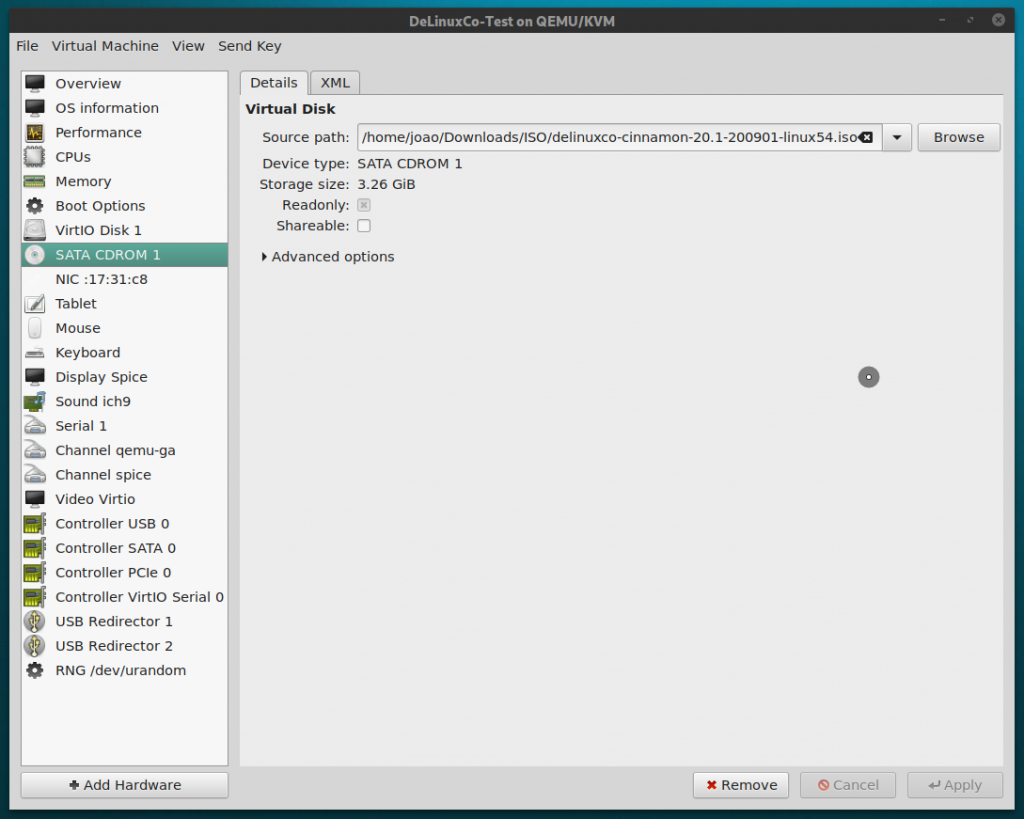
Now, verify that the image you selected is on the source path, if not select it again., then click Apply.
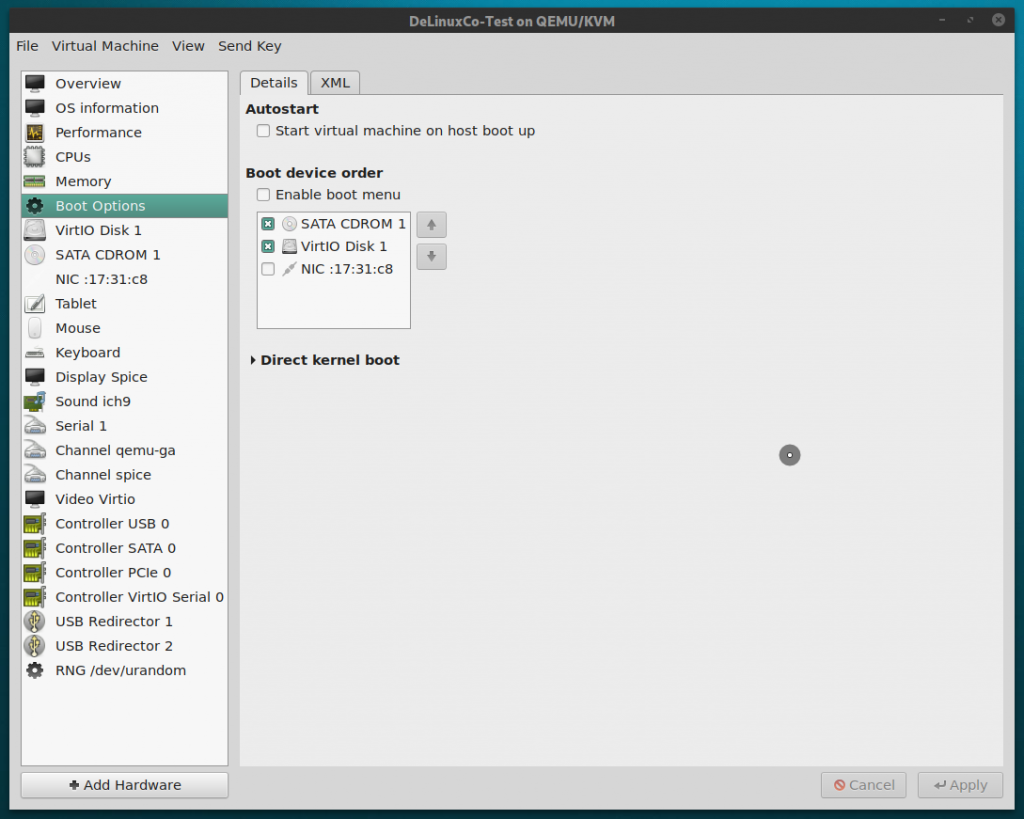
Then click on “Boot Options” on the left pane and make sure that SATA CDROM 1 is checked and then move it to the beginning or top of the boot order, then click Apply.
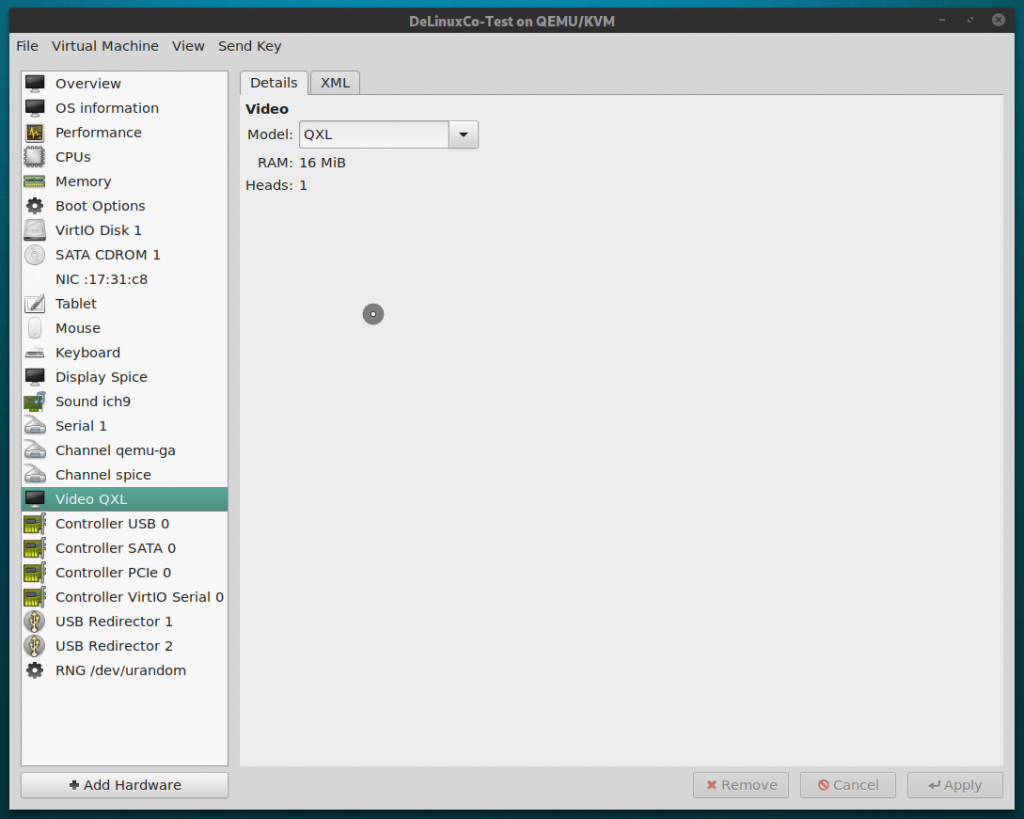
Next, we need to change the graphics settings to take advantage of the 3D Desktop. Click on Video QXL on the left pane and it should have defaulted to QXL under Model.
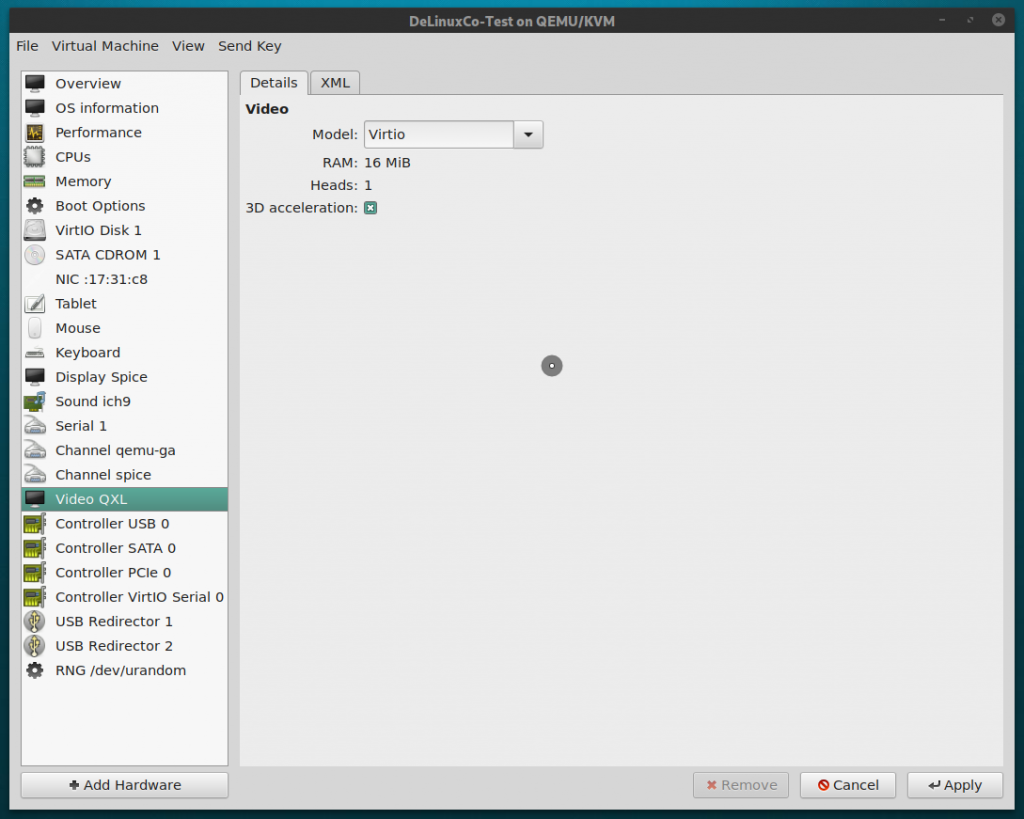
Change it to Virtio and select 3D Acceleration as in the image below, then click Apply.
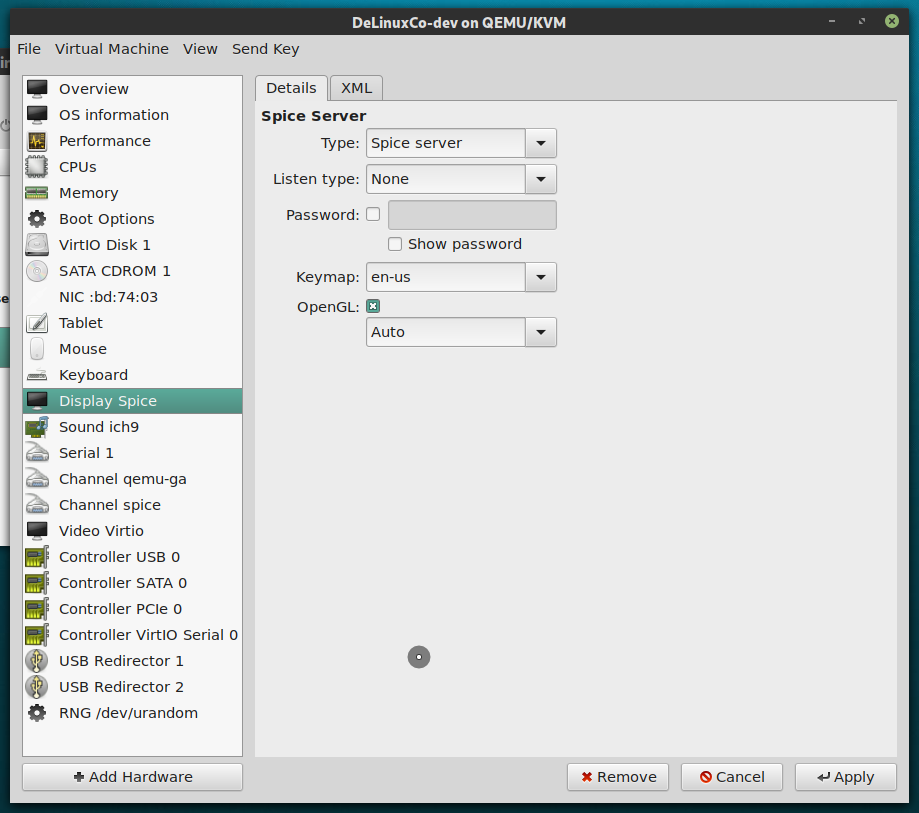
Next, select “Display Spice” on the left pane, and it should default to the image below.
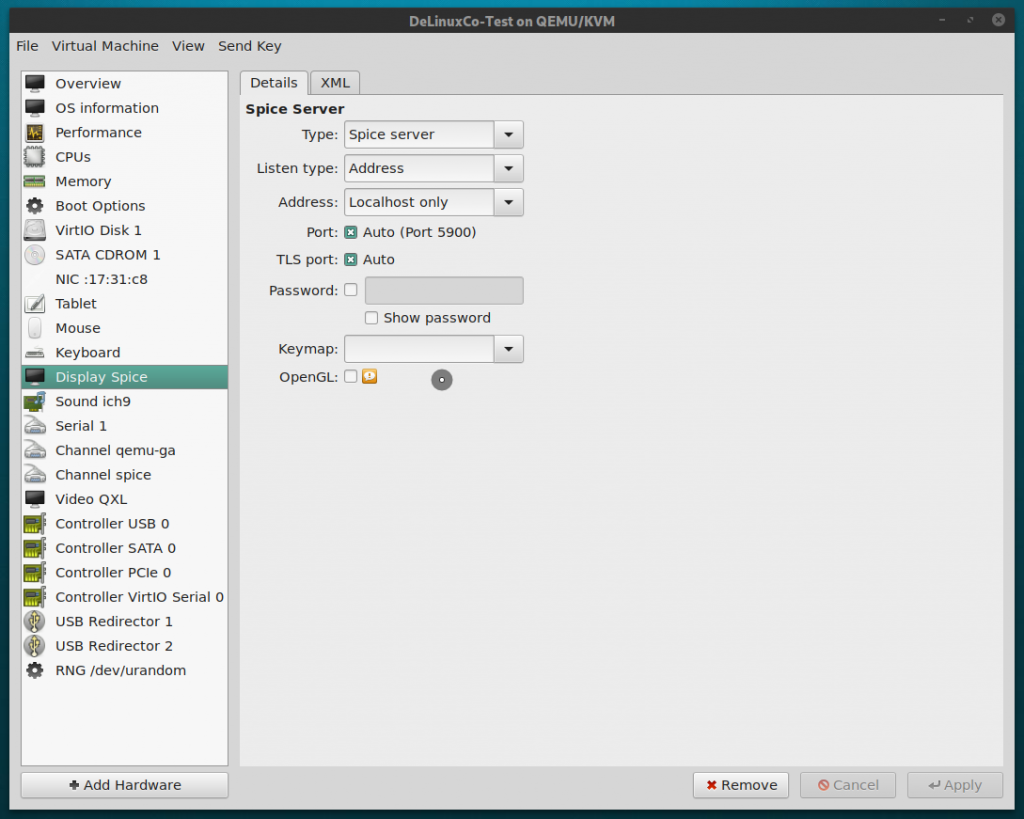
Set all settings as the image below, with the exception of the Keymap, set that to your appropriate language/country, click Apply
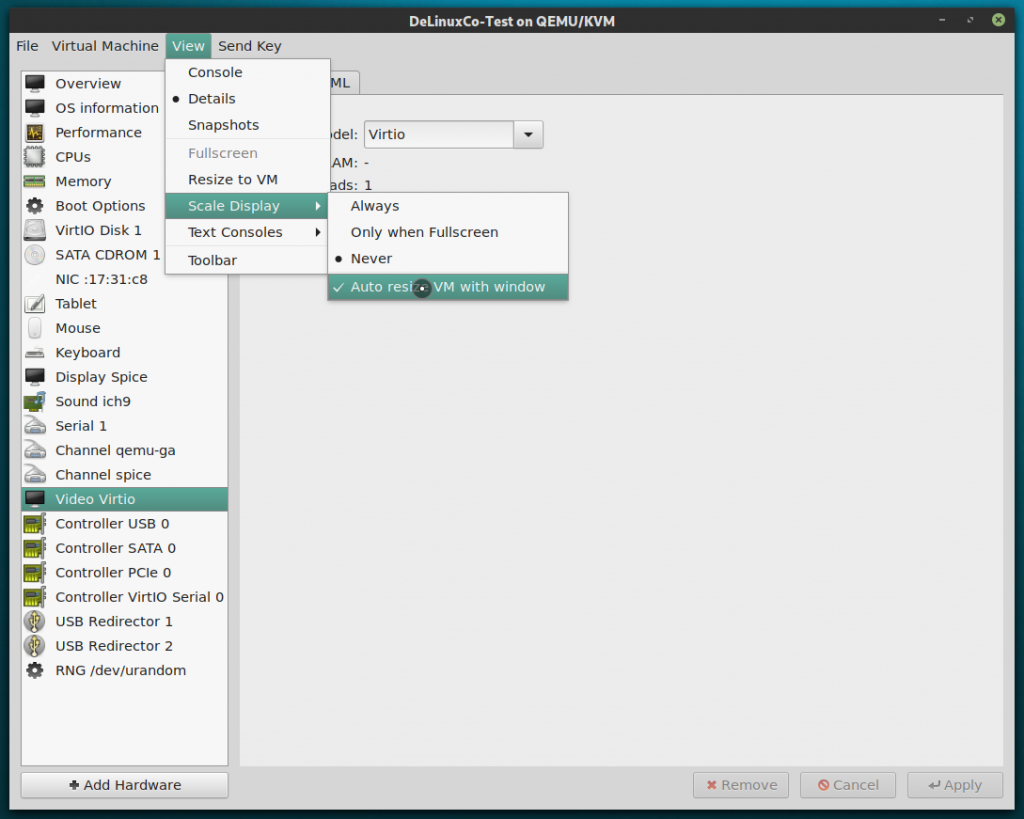
One final step before booting, set the VM to auto resize with the window, then click Apply.
From the View menu, select Console, then from Virtual Machine, select Run to start your VM, you should be greeted with the Installer screen. Note, sometimes you may have a blank screen that seems to not be doing anything, just be patient and wait.

Once the ISO boots to the Desktop, it may look squished like below.
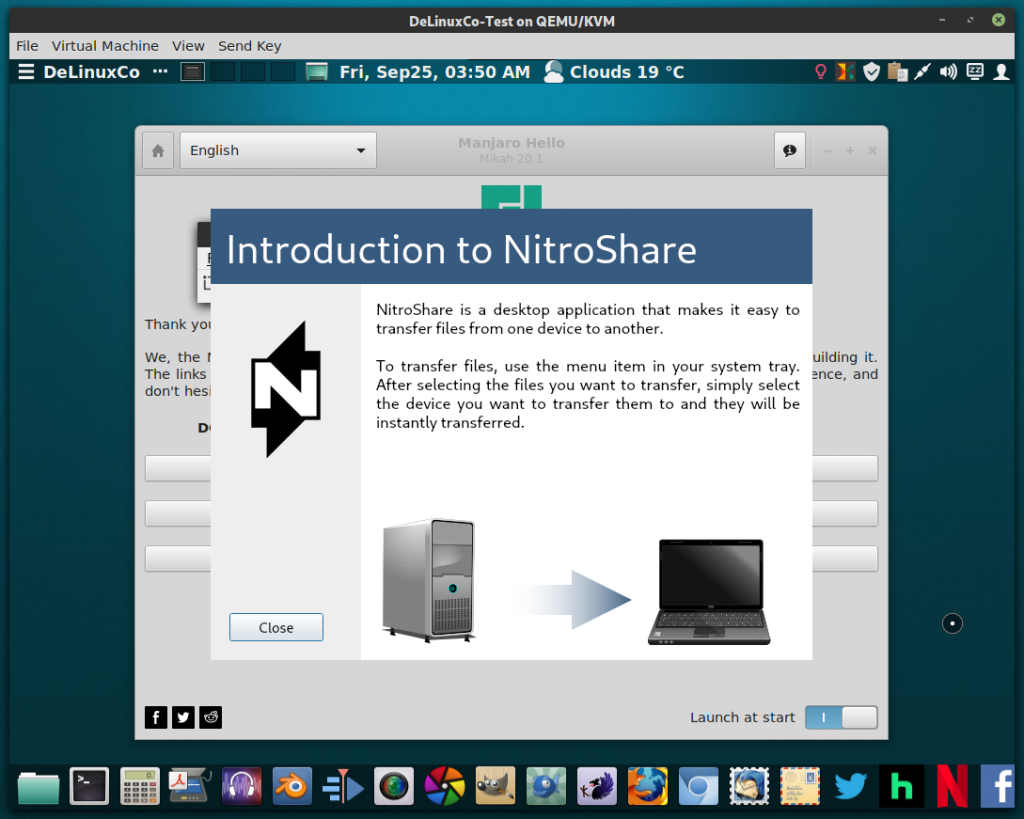
If all is working well, either maximize the window or from the View menu select Fullscreen and the VM should resize and not give warnings about software rendering mode.
To learn more about libvirt, visit the Arch Linux Wiki
Download 20240311 - DeLinuxCo
[…] Virtual Machine Manager w/UEFI support […]